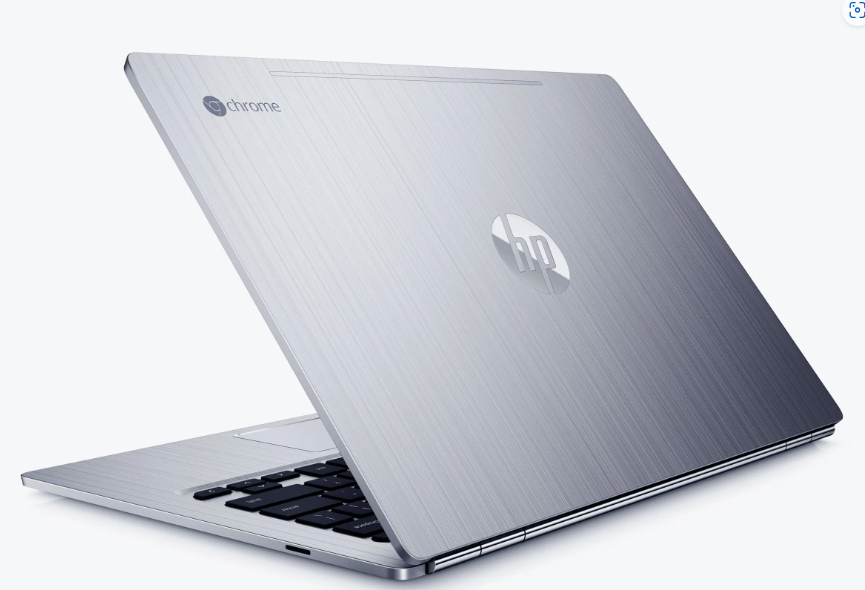
In the world of operating systems like Linux, Windows, and Mac, the command prompt is a powerful tool that allows users to enter commands and perform various tasks. It can automate processes, troubleshoot issues, and execute administrative functions. For those familiar with the command prompt, it offers a faster and more efficient way to get things done compared to relying solely on user interfaces. But what about Chromebooks? Can you access the command prompt on a Chromebook? The answer is yes, and in this article, we’ll show you how.
Understanding the Chrome Shell (crosh)
The command prompt on a Chromebook is accessible through the Google Chrome Browser. To access it, you’ll be using the Chrome Shell, also known ascrosh. The crosh shell serves as the command prompt or terminal on a Chromebook, allowing you to enter commands and interact with the operating system.
To launch the crosh shell, simply pressctrl + alt + T on your Chromebook. This will open a new tab in the Chrome browser, dedicated to the crosh shell. Once the crosh shell is launched, you’ll need to type “shell” to enter the root Linux shell within the Chrome browser.
It’s important to note that using the shell requires your Chromebook to be in developer mode. If you’re not familiar with developer mode or unsure about making changes to your Chromebook, it’s advisable to seek guidance from reliable sources.
Basic Crosh Shell Commands
Once you’re inside the crosh shell, you’ll have access to a variety of commands. To view the basic commands available, you can simply type “help” after the crosh command prompt. For more advanced commands, you can use the “help_advanced” command.
Let’s explore some of the basic crosh shell commands:
1.help
The “help” command provides you with assistance on using crosh. It offers guidance on how to navigate the shell and utilize its features.
2.help_advanced
The “help_advanced” command gives you access to the more advanced commands available in crosh. These commands are often used for debugging and troubleshooting purposes.
3.connectivity
The “connectivity” command allows you to check the connectivity status of your Chromebook. It can be particularly useful when you’re experiencing network or internet connectivity issues.
4.battery_test <numberofseconds>
With the “battery_test” command, you can assess the battery discharge rate of your Chromebook. By specifying the number of seconds for the test, you can gather information about your battery’s performance.
5.memory_test
The “memory_test” command is designed to test the free memory on your Chromebook. It provides insights into the available memory resources and can be helpful in diagnosing any memory-related issues.
6.top
By using the “top” command, you can view the system information and monitor the processes running during your current session. This command displays details about Chrome plug-ins, extensions, and active tabs, allowing you to identify resource-consuming elements.
7.ping
The “ping” command is a standard tool used for network troubleshooting. It helps you determine the connectivity status between your Chromebook and a specific network address.
8.sound
If you’re experiencing audio issues on your Chromebook, the “sound” command can come in handy. It allows you to record audio using the built-in microphone and play it back for testing purposes. You can also save the recorded audio as a file.
9.ssh
For advanced users who need to connect to web servers or other devices using SSH (Secure Shell), the “ssh” command enables you to establish an SSH connection directly from your Chromebook.
These are just a few examples of the commands available in the crosh shell. While some commands are more suited for developers, others can be useful for Chromebook power users or anyone curious about exploring their device’s capabilities.
Conclusion
The command prompt, or crosh shell, on a Chromebook provides a gateway to powerful commands and functionalities. Accessing the crosh shell is simple, and once you’re inside, you can utilize a range of commands to troubleshoot issues, gather information, and optimize your Chromebook’s performance.
Remember, it’s crucial to exercise caution when using the command prompt and be aware of the potential risks associated with making changes to your device. If you’re unsure about a command or its implications, it’s best to consult reliable resources or seek guidance from experts.
By familiarizing yourself with the crosh shell and its commands, you’ll be equipped with a valuable tool to enhance your Chromebook experience. Whether you’re a developer, a power user, or simply curious about exploring the technical aspects of your device, the crosh shell offers a window into the inner workings of your Chromebook.
So go ahead, dive into the crosh shell, and discover the world of possibilities waiting for you.
Additional Information: While the crosh shell on Chromebooks provides access to various commands and functionalities, it’s important to note that the availability of certain commands may vary depending on your Chromebook model and the version of Chrome OS you’re using. It’s always a good idea to consult the official documentation or relevant online resources for the most up-to-date information and guidance.


