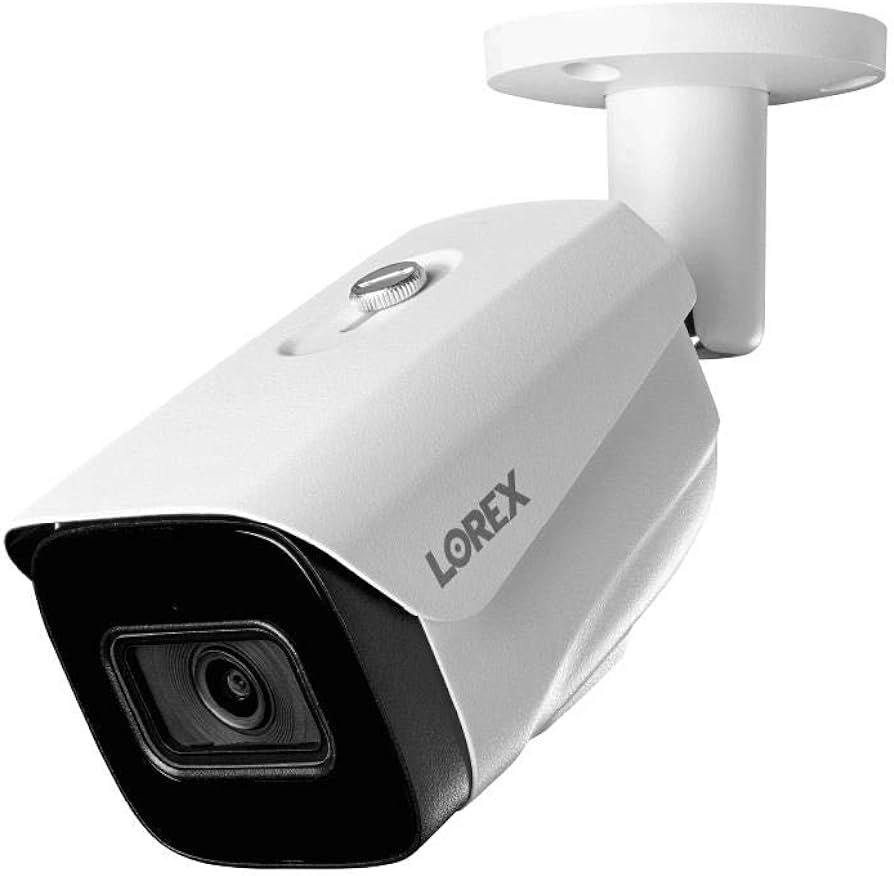
Security cameras play a crucial role in protecting our homes and businesses. Lorex is a renowned brand that offers a wide range of security camera systems. In this guide, we will walk you through the process of connecting your Lorex camera to your phone, allowing you to monitor your property remotely. Whether you’re a beginner or a tech-savvy individual, this step-by-step guide will provide you with all the information you need to successfully set up your Lorex camera and establish a connection with your phone.
Camera and Software Installation
Before we dive into the process of connecting your Lorex camera to your phone, it’s essential to ensure that your camera and software are properly installed. Here are the steps to follow:
Step 1: Camera Installation
- Choose the desired location for your Lorex camera and install it according to the manufacturer’s instructions.
- Set up the DVR (Digital Video Recorder) that comes with your Lorex camera system.
- Request the latest Lorex software from their support department to ensure compatibility and access the most up-to-date features.
Step 2: Accessing the DVR
After the installation is complete, you need to access the DVR to view your cameras through the Lorex software. Here’s how to do it:
- Install the Lorex software on your computer and log in using the provided credentials.
- Upon logging in, you will be able to see the cameras in the graphical user interface (GUI).
- Select the MainStream or SubStream option based on the desired quality for live viewing.
System Configuration
Once your cameras and software are installed, it’s time to configure your Lorex camera system. Follow these steps to set up your system according to your preferences:
Step 1: Configuring Camera Display
To make it easier to identify each camera, you can assign memorable names to them. Here’s how to configure the camera display:
- Go to the “Remote Settings” tab in the Lorex software.
- Choose the “Display” option and assign a name to each camera.
- Save the changes and select the desired camera from the drop-down box.
Step 2: Setting Recording Schedule
To ensure your Lorex camera system captures footage when needed, you should configure the recording schedule. Follow these steps:
- Navigate to the “Recording > Schedule” section in the Lorex software.
- Set the recording schedule for each camera and specify the desired days of the week.
- Customize the recording settings according to your preferences.
Step 3: Adjusting Bitrate for Mainstream and Substream
The Mainstream and Substream settings determine the resolution and bitrate for recording and remote viewing. Here’s how to adjust the bitrate:
- Access the “System > General” section in the Lorex software.
- Configure the Mainstream settings for high-resolution recordings.
- Adjust the Substream settings for remote viewing with reduced quality to optimize bandwidth usage.
Step 4: Configuring Storage
Proper storage configuration is essential for managing recorded footage effectively. Follow these steps to configure your storage:
- Format the storage device to ensure optimal performance.
- Set the Overwrite option to “Auto” to automatically delete old recordings when the storage is full.
Step 5: Setting Date, Time, and User Accounts
To ensure accurate timestamps and secure access to your Lorex camera system, follow these steps:
- Configure the Date and Time settings under the “System > General” section.
- Create a READONLY user account with a strong password for remote camera access.
- Restrict the admin account to local access via the network for making changes or viewing recorded footage.
Port Forwarding and Remote Access
To connect your Lorex camera to your phone, you need to configure port forwarding on your router/firewall. Here’s how to do it:
Step 1: Obtaining RTSP URLs
In the Lorex software, you can find the RTSP URLs for accessing each camera. These URLs provide remote access to your cameras. Here’s an example:
rtsp://10.0.1.12:554/ch01/1Step 2: Configuring Port Forwarding
To enable remote access to your Lorex camera system, you need to configure port forwarding on your router/firewall. Follow these steps:
- Determine an external port (e.g., 556) that will be used for remote access.
- Redirect the external port to the internal port (e.g., 554) of the DVR (e.g., 10.0.1.12) in your router/firewall settings.
Step 3: Adding the Camera to Onvier App
To view your Lorex camera on your phone, you can use the Onvier app. Follow these steps to add your camera to the app:
- Download and install the Onvier app from the Google Play Store or Apple Store.
- Open the app and add a generic RTSP camera.
- Enter the RTSP URL for your Lorex camera and configure the settings accordingly.
Conclusion
By following the steps outlined in this comprehensive guide, you can easily connect your Lorex camera to your phone. This allows you to remotely monitor your property and ensure its security. Remember to properly install your cameras, configure your system settings, and enable remote access through port forwarding. With the right setup, you can enjoy the convenience and peace of mind that comes with having your Lorex camera connected to your phone.
Now that you have the knowledge and tools, it’s time to take control of your security and stay connected to your property wherever you go. Stay safe!