The Power Supply Unit(PSU) within your computer is a critical component designed to operate within specific temperature limits. When temperatures exceed these limits, your system’s stability can be compromised, leading to frustrating freezes and unexpected crashes. Effectively managing overheating is not only crucial for maintaining optimal system performance but also for safeguarding the longevity of your valuable PC components.
In this comprehensive guide, we will explore a range of strategies to address PSU overheating issues, starting from fundamental maintenance practices to advanced adjustments. By the end of this guide, you’ll be equipped with a holistic understanding of how to keep your PSU running cool and your system running smoothly.
Step 1: Thoroughly Assess Power Supply Temperature
Before jumping to conclusions about PSU overheating, it’s imperative to accurately assess it’s temperature. While no software application offers this data, specialized tools such as infrared thermometers or thermal imaging cameras can provide accurate readings. For instance, during my evaluation of the Corsair RM 850x PSU, I recorded a temperature of 66.5°C.
- PSU temperatures typically exhibit a range of 40°C to 60°C, although some high-performance units can endure higher temperatures of 80°C-90°C with a trade-off in efficiency. Nevertheless, exceeding the 60°C mark should be considered a sign of overheating.
- To perform a quick physical check, place your hand on the PSU exterior or air exhaust vent. If the surface is uncomfortably hot for an extended period, it’s indicative of potential overheating.
It’s important to note that inadequate ventilation is a common factor contributing to overheating. Ensure that PSU vents are unobstructed and consider employing additional fans or even an air conditioner if your room temperature is consistently high.
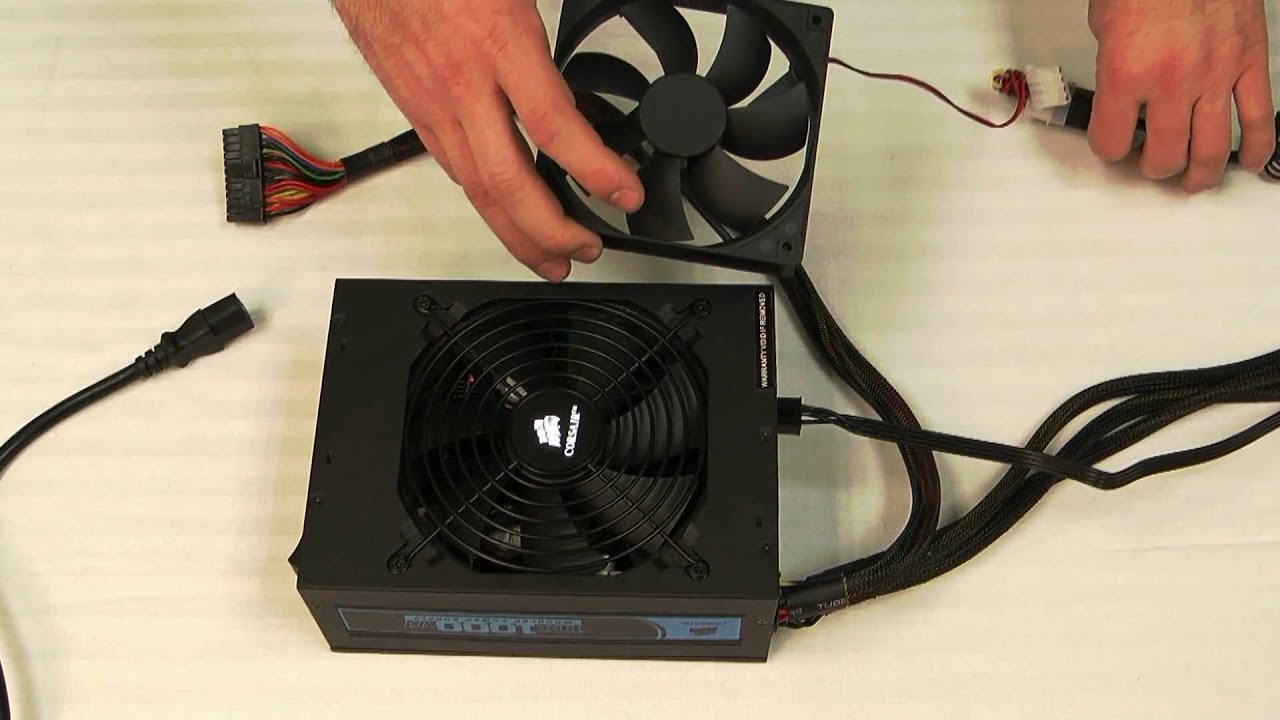
Step 2: Scrutinize the PSU Fan for Optimal Performance
Modern PSUs often feature hybrid fan modes, wherein the fan remains inactive or spins at low speeds until certain temperature or load thresholds are met. Confirm that the fan operates seamlessly and escalates to full speed when necessary. If irregularities are detected, seeking professional assistance is advisable.
Step 3: Optimize PSU Orientation and Enhance Cooling Mechanisms
While most PC cases position the PSU at the bottom, facing downwards for optimal airflow, exceptions may occur due to insufficient ventilation. In such cases, reorienting the PSU to face upwards can be an effective solution. However, it’s crucial to ensure that the overall cooling system is optimized to prevent the PSU fan from drawing in hot air from within the case, exacerbating temperature concerns.
- To enhance system cooling, consider installing additional fans or upgrading the existing ones with higher-quality alternatives. Adjusting fan speeds through BIOS settings or manufacturer-specific software can also contribute to temperature control.
- Regular maintenance involving the removal of dust and debris from PSU fans and vents is paramount for sustaining efficient cooling.
Step 4: Effective Management of Cable Clutter
Unorganized cable clutter can obstruct airflow within the PC case, potentially leading to overheating. Properly securing and routing unnecessary cables creates unobstructed pathways for airflow, minimizing temperature-related issues.
Step 5: Verify Cable Quality and Power Requirements
Opt for using authentic power supply cables that are bundled with the PSU to prevent power delivery inconsistencies. It’s essential to ensure that the PSU’s rated output power surpasses your system’s power requirements by a margin of at least 25%. When the power draw approaches the PSU’s capacity, overheating becomes a real concern.
Step 6: Analyze the Impact of Overclocking
Engaging in overclocking activities, whether on CPUs, GPUs, or RAM, escalates power consumption beyond typical levels. Consequently, if the PSU struggles to meet the increased power demand, overheating can ensue. Furthermore, overclocking can potentially trigger system crashes or errors such as the notorious Blue Screen of Death(BSOD).
- For a quick resolution, consider disabling overclocking settings.
- If overclocking is an integral part of your setup, contemplate upgrading to a PSU with a higher power capacity to accommodate the increased energy demand.
Step 7: Repair or Replace Aging PSUs
As a PSU ages, it’s internal components undergo wear and tear, leading to diminished efficiency and increased heat generation. In cases where other strategies prove ineffective, it may be time to explore the option of repairing or replacing the PSU through authorized channels. Attempting DIY disassembly poses risks, including voiding warranties and exposing oneself to electrical hazards.
When considering a new PSU, prioritize those with higher power supply efficiency, as this translates to lower heat dissipation and better overall performance.
Conclusion
By meticulously following the steps outlined in this comprehensive guide, you’ll be equipped with a repertoire of effective strategies to combat PSU overheating. These measures not only ensure a stable and efficient system performance but also contribute to the longevity of your PC components. Implement these recommendations to enjoy a cooler, more reliable computing experience that remains optimal even during demanding tasks and extended usage.
Experiencing difficulties with your Device, check out our “How To” page on how to resolve some of these issues.