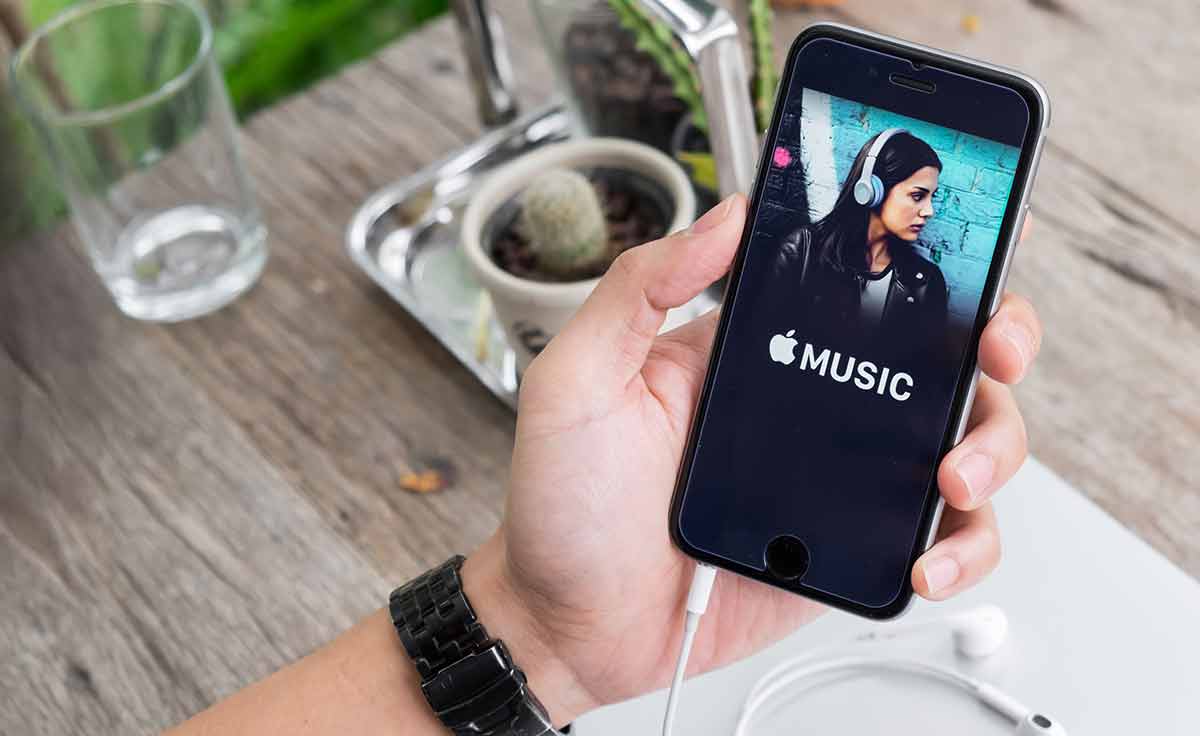
As a responsible parent or someone who prefers a clean listening experience, disabling explicit content on Apple Music is essential. Apple Music provides an explicit content filter that ensures a safe and family-friendly environment, whether you’re enjoying music at home, school, or any other gathering. By following a few simple steps, you can easily turn off explicit songs and enjoy a curated listening experience. In this comprehensive guide, we will walk you through the process of disabling explicit content on Apple Music across various devices, including iPhones, iPads, Macs, and Windows PCs.
How to Turn Off Explicit Songs on iPhones and iPads
To disable explicit content on your iPhone or iPad, follow these steps:
- Open the Settings app on your device.
- Tap on Screen Time.
- Select Content & Privacy Restrictions.
- Toggle on the switch next to Content & Privacy Restrictions.
- On the next page, tap on Content Restrictions.
- Choose Music, Podcasts and News.
- Select the Clean option to ensure that all Apple Music content played on your device is free from explicit content.
By following these steps, you can enjoy a clean and family-friendly listening experience on your iPhone or iPad. The explicit content filter will ensure that any explicit songs or content are not accessible.
Note: If you want to prevent unauthorized changes to these settings, you can set a passcode for device restrictions. We’ll cover this in the next section.
Setting a Passcode for Device Restrictions
To set a passcode for device restrictions on iPhones and iPads, follow these steps:
Go to Settings on your device.
Tap on Screen Time.
Select Use Screen Time Passcode.
Set a passcode of your choice and confirm it.
Enter your Apple ID and password to verify your identity.
Setting a passcode ensures that only authorized users can make changes to the content restrictions. It provides an additional layer of security and prevents unauthorized access to explicit content settings.
How to Disable Explicit Content on Macs and Windows PCs
If you prefer to listen to Apple Music on your Mac or Windows PC and want to disable explicit content, follow these steps:
Open iTunes (on a Mac) or Apple Music app (on a Windows PC).
Click on iTunes/Music in the Menu bar at the top of the screen.
Select Preferences from the drop-down menu.
Navigate to the Restrictions tab.
In the Restrict section, check the box next to Music with explicit content.
Click OK to save the settings.
A confirmation box will appear, explaining the impact of enabling the content filter. By enabling content restrictions, you won’t be able to play, preview, purchase, or subscribe to any content marked as explicit. However, this ensures a safer and more family-friendly listening experience.
Note: For Mac and Windows PC users, there is no need to set a separate passcode for device restrictions. The content restrictions can be enabled directly from the preferences.
Conclusion
Disabling explicit content on Apple Music is a straightforward process that ensures a safe and enjoyable listening experience for everyone. Whether you’re using an iPhone, iPad, Mac, or Windows PC, you can easily turn off explicit songs using the provided content control options. By following the steps outlined in this guide, you can create a curated and family-friendly music environment on all your Apple devices. Enjoy your favorite tunes without worrying about explicit content!
Now that you know how to disable explicit content on Apple Music, you can confidently create a clean and enjoyable music experience for yourself, your family, or any gatherings where explicit lyrics are inappropriate. Embrace the peace of mind that comes with knowing you have control over the content you and your loved ones listen to on Apple Music. Happy listening!
Additional Information: For more information on Apple Music features and usage, you can visit theofficial Apple Music support page.


