
Understanding the Issue
Before we dive into the troubleshooting steps, let’s first understand the possible causes behind the Ryobi ONE+ 18V battery not charging issue. There are a few factors that could contribute to this problem:
- Drained Battery: Leaving the battery in the charger for an extended period can drain its power, causing the charger to detect it as defective.
- Faulty Charger: Sometimes, the issue lies with the charger itself, which may not be providing the necessary charge to the battery.
- Battery Circuit Board: The battery’s circuit board could prevent it from charging if it detects a low voltage or other issues.
- Age and Condition: Over time, rechargeable batteries can degrade and lose their ability to hold a charge effectively.
Now that we have a better understanding of the potential causes, let’s explore the methods to fix the Ryobi ONE+ 18V battery not charging issue.
Method 1: Check the Battery’s Charge Status and Attempt a Quick Fix
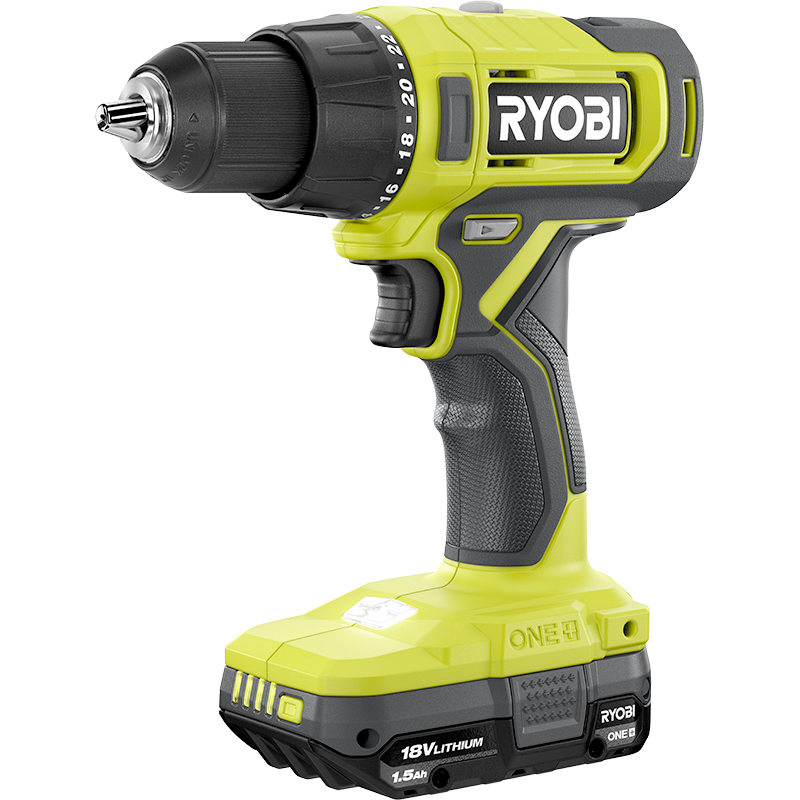
The first step in troubleshooting the battery is to check its charge status and attempt a quick fix. The Ryobi 18V Lithium-Ion Battery has an indicator light that provides valuable information about its charge level. When you plug in the battery, the indicator light should initially flash red and eventually turn solid green, indicating a full charge. However, if the light keeps flashing red or doesn’t turn green, it suggests a problem with the battery.
To attempt a quick fix, follow these steps:
- Disconnect the battery from the charger and wait for a few minutes.
- Reinsert the battery into the charger and observe if the indicator light changes from flashing red to solid green.
- If the battery still doesn’t charge, trypulsing the charge by quickly plugging and unplugging the charger a few times. This can sometimes kickstart the charging process.
Method 2: Verify the Battery’s Warranty Status
If your Ryobi ONE+ 18V Lithium-Ion Battery is less than three years old, it may still be under warranty. Before attempting any fixes yourself, it’s worth checking the battery’s warranty status. If it’s still covered, consider reaching out to Ryobi’s customer service or returning it to the place of purchase. This way, you can avoid any potential risks associated with DIY repairs and potentially get a replacement battery.
Method 3: Reset the Battery
Sometimes, a simple reset can resolve the charging issue with the Ryobi ONE+ 18V battery. This method is especially effective when the battery is completely drained. To reset the battery, follow these steps:
- Remove the battery from the charger and any connected tools.
- Wait for approximately five minutes to allow the battery to reset.
- Reinsert the battery into the charger and check if it starts charging.
Method 4: Cool Down the Battery
Overheating can also prevent the Ryobi ONE+ 18V battery from charging. If the battery feels hot to the touch, it’s an indication of overheating. In such cases, it’s essential to let the battery cool down before attempting to charge it again. Follow these steps to cool down the battery:
- Remove the battery from the charger and any connected tools.
- Place the battery in a cool and dry area away from direct sunlight.
- Allow the battery to cool down for approximately 30 minutes.
- Reinsert the battery into the charger and check if it charges properly.
Method 5: Clean the Battery and Charger Contacts
Dirt, dust, or corrosion on the battery and charger contacts can disrupt the charging process. Cleaning these contacts can help establish proper connections, allowing the battery to charge. Follow these steps to clean the contacts:
- Disconnect the battery from the charger and any connected tools.
- Inspect the battery and charger contacts for any dirt, dust, or corrosion.
- Use a clean, dry cloth or a soft brush to gently clean the contacts on both the battery and charger.
- Reinsert the battery into the charger and check if it charges properly.
Method 6: Check the Charger
If you’ve tried the previous methods and the battery still won’t charge, it’s time to inspect the charger itself. A faulty charger can be the culprit behind the charging issue. To check the charger, follow these steps:
- Obtain another Ryobi ONE+ 18V battery or borrow one from a friend who uses the same system.
- Insert the second battery into the charger and check if it charges properly.
- If the charger charges the second battery without any issues, it indicates that the original battery might be the problem.
- If the charger fails to charge the second battery as well, it suggests a faulty charger that needs replacement.
Method 7: Consider Battery Replacement
If all the previous methods fail to resolve the charging issue, it might be time to consider replacing the battery. Rechargeable batteries have a limited lifespan, and after a certain number of charge cycles, they may no longer hold a charge effectively. If your Ryobi ONE+ 18V battery is old or heavily used, replacing it with a new one can solve the charging problem.
When purchasing a replacement battery, ensure that it is compatible with your Ryobi ONE+ 18V system. Look for genuine Ryobi batteries or reputable third-party options that offer the same specifications and quality.
Additional Tips and Precautions
While troubleshooting and fixing the Ryobi ONE+ 18V battery not charging issue, it’s important to keep the following tips and precautions in mind:
- Use proper safety gear when handling batteries and electrical equipment to avoid any potential hazards.
- Follow the manufacturer’s instructions for charging and using the battery to ensure optimal performance and safety.
- Avoid overcharging the battery, as it can lead to reduced battery life and potential safety risks.
- Store the battery in a cool and dry place when not in use to maintain its performance and extend its lifespan.
- Regularly inspect the battery and charger for any signs of damage or wear. If you notice any issues, discontinue use and consult a professional.
Conclusion
By following these tips and methods, you can troubleshoot and fix the Ryobi ONE+ 18V battery not charging issue, ensuring that your power tools are always ready for use.
Remember, if you are unsure about performing any DIY repairs or if your battery is still under warranty, it’s always recommended to contact Ryobi’s customer service or seek professional assistance.