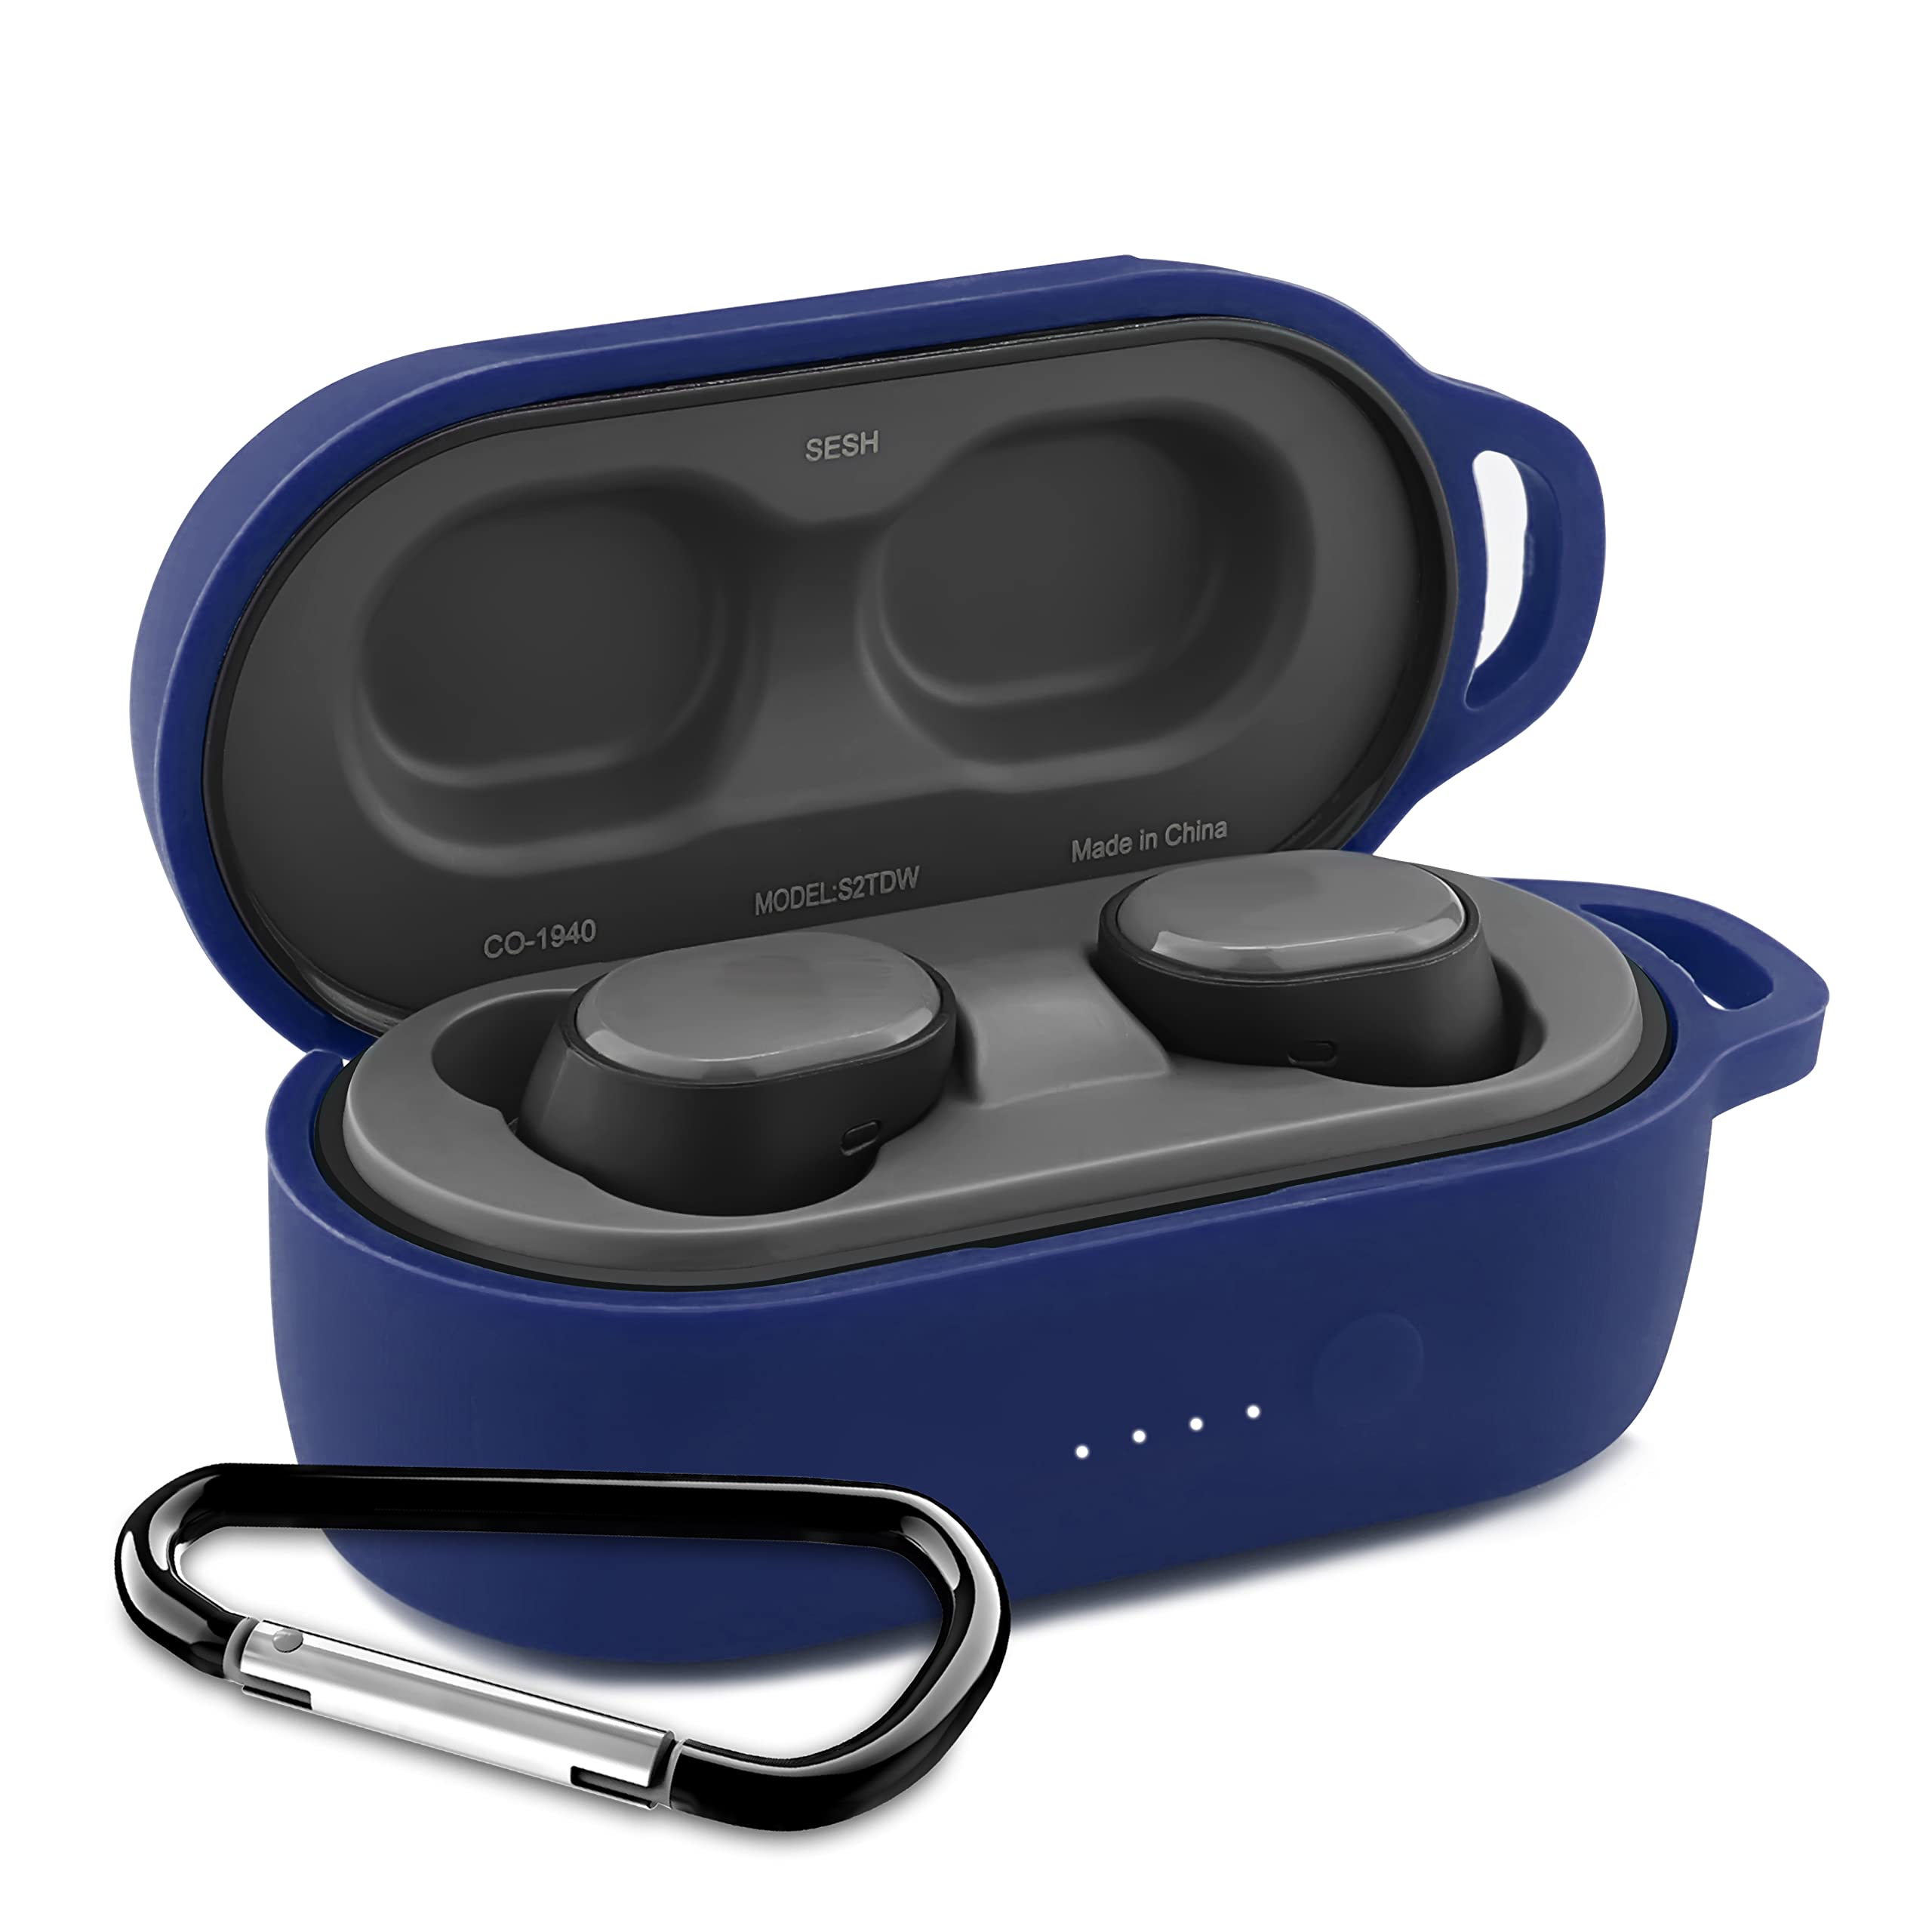
Wireless headphones have become increasingly popular in recent years due to their convenience and freedom from tangled wires. However, one common issue that users encounter is the case not charging properly. This problem can be frustrating, especially when you’re eager to enjoy your favorite music or podcasts. If you’re facing this issue with your SkullCandy Sesh Evo case, you’ve come to the right place. In this comprehensive guide, we’ll walk you through several troubleshooting steps to help you resolve the problem and get your headphones back up and running.
Reasons Behind the SkullCandy Sesh Evo Case Not Charging Issue
There can be various reasons why your SkullCandy Sesh Evo case is not charging. It’s essential to understand these potential causes before proceeding with the troubleshooting steps. Some common factors that may contribute to this issue include:
Dirt and Debris: Over time, dust, lint, or other particles can accumulate in the charging port, hindering the connection and preventing proper charging.
Faulty Charging Cable: The cable you’re using to charge your SkullCandy Sesh Evo case may be damaged or malfunctioning, resulting in ineffective charging.
Defective Charging Case: In some cases, the problem may be with the case itself. If you have access to another case, testing it with your charging cable can help determine if the issue lies with the case or the cable.
Software Glitch: Occasionally, a software glitch or error may prevent the case from charging correctly. In such instances, a reset of the SkullCandy Sesh Evo may resolve the problem.
Now that we have a better understanding of the potential causes, let’s delve into the step-by-step troubleshooting methods to fix the SkullCandy Sesh Evo case not charging issue.
Clean The Charging Case
In many cases, a simple cleaning of the charging case can resolve the issue. Dust, lint, or debris may accumulate in the charging port, obstructing the connection and preventing proper charging. To clean your SkullCandy Sesh Evo case, follow these steps:
Carefully inspect the charging port of the case. If you notice any visible dirt or debris, use a soft brush or a dry, clean toothbrush to gently remove it. Be cautious not to damage the charging port while cleaning.
If the dirt or debris is stubborn, you can use a can of compressed air or a hairdryer on a low setting to blow away the particles. Maintain a reasonable distance to prevent overheating or causing damage.
After cleaning, inspect the charging port again to ensure it is free from any obstructions. If necessary, repeat the cleaning process until the port is entirely clear.
By cleaning the charging case, you’re eliminating potential barriers that may hinder the charging process. Once the port is free from dirt and debris, proceed to the next troubleshooting step.
Step 2: Try Another Cable To Plug The Case
If cleaning the charging case doesn’t resolve the issue, the next step is to determine whether the problem lies with the charging cable. Sometimes, the cable itself may be faulty or damaged, leading to ineffective charging. To test this, follow these steps:
Obtain another compatible charging cable that you know is in good working condition.
Disconnect the current charging cable from both the case and the power source.
Connect the alternative charging cable to the case and plug it into a power source.
Observe whether the case begins to charge with the new cable. If it does, this indicates that the original cable was defective, and you should replace it with a new one.
If the case still doesn’t charge with the alternative cable, proceed to the next troubleshooting step to further isolate and resolve the issue.
Step 3: Check The Cable
To ensure that the charging cable is functioning correctly, it’s essential to inspect it thoroughly. Faulty cables can prevent proper charging, even when the case and power source are in perfect condition. Follow these steps to check the cable:
Examine the cable for any visible signs of damage, such as frayed wires, bent connectors, or exposed insulation. If you notice any issues, it’s advisable to replace the cable.
Inspect the connectors at both ends of the cable. Make sure they are clean and free from debris that may hinder the charging process. Use a soft cloth or cotton swab to remove any dirt or residue.
If you have access to another compatible device, try using the cable to charge that device. If the cable works correctly with the other device, this confirms that the issue lies with the SkullCandy Sesh Evo case and not the cable.
By performing these cable checks, you can eliminate any doubts about the cable’s functionality. If the cable is not the cause of the problem, proceed to the next troubleshooting step.
Step 4: Reset SkullCandy Sesh Evo
If the previous steps haven’t resolved the issue, it’s time to perform a reset on your SkullCandy Sesh Evo. Resetting the earbuds can help resolve software glitches that may be causing the charging problem. Follow these steps to reset your SkullCandy Sesh Evo:
Place both earbuds back in the charging case.
Ensure that the case has sufficient charge and is connected to a power source.
Press and hold the buttons on both earbuds simultaneously for at least 10 seconds.
Release the buttons once you see the LED lights on the earbuds flash or change color.
Remove the earbuds from the case and attempt to charge them again.
Performing a reset on your SkullCandy Sesh Evo can often resolve any underlying software issues that may be preventing the case from charging properly. After completing the reset, check if the case charges as expected.
Conclusion
Experiencing issues with your SkullCandy Sesh Evo case not charging can be frustrating, but by following the troubleshooting steps outlined in this guide, you should be able to resolve the problem. Remember to clean the charging case, try another cable, check the cable for damage, and perform a reset if necessary. By systematically addressing each potential cause, you can restore proper charging functionality to your SkullCandy Sesh Evo case and continue enjoying your favorite audio content with high-definition sound.
If you encounter any further difficulties or the issue persists, it may be advisable to contact SkullCandy customer support for additional assistance.


